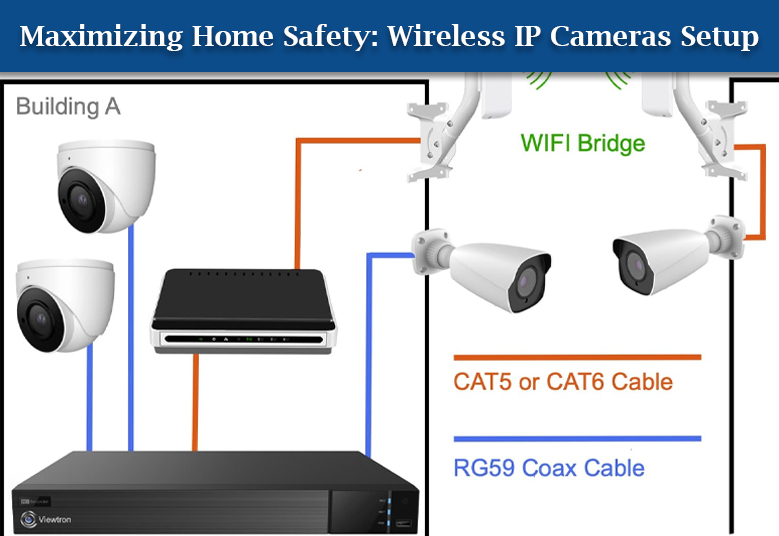
Have you purchased a professional wireless security camera for your house? Congratulations on taking the home security to a new level! But, you have to set up the camera before you mount it and expect it to do the surveillance job for you. This post will reveal all the necessary steps that you need to follow in order to make your Wireless IP cameras up and running. For the ease of the setup process, we have discussed the steps to connect the camera to a WiFi router; a device that can be seen in all the houses where homies have a high interest in enjoying bandwidth consuming activities. Keep reading.
To Your Knowledge
The steps highlighted in this post are applicable for a Windows or a Mac device. You cannot make your wireless security cameras up and running with the help of an iPad or an Android phone.
How to Set Up Wireless Security Cameras with Router?
Prior to installing the wireless IP cameras in the house, you have to pair it with the WiFi router. You also have to ensure that your camera has access to the WiFi signals of the router at the location at which you want to fasten the camera. Here’s how to set up wireless security cameras with a WiFi router.
Wire Your IP Camera and Router
The very first step in installing the wireless IP camera in the house is to wire it to the local network. For this, you can take the aid of an Ethernet cable. Once done, you can connect the power cable of your IP camera and give it a minute to power up.
Be very sure that your WiFi router is turned on before your IP camera. This is to inform you that the LAN connection is supposed to be established between your devices while being powered off.
Get the Computer Ready
The next step in line is to find the camera and pair it. For this, you must access its web interface. However, it can be done using a Mac or a Windows computer. This will allow you to log in to the camera and connect it to the router’s network.
The major requirement of this step is to pair the chosen computer to the WiFi network to which you want to connect your wireless IP cameras. You might need to get your hands on a Windows PC if you do not know what the IP address of the camera is (wired). You can go ahead with using a Mac computer if you have a wired IP.
Note: Use an IPconfig tool just in case you are unsure about the IP address of your wireless IP camera in the network.
Find the Camera and Access its Web GUI
To know about the default IP of your camera, you must check its label. The option of referring to the email thread from the manufacturer is also there. You will find the address, username, and password as well. For Avalonix IP cameras, the default IP is 192.168.1.109. To successfully access the camera, your network should run on 192.168.1.1. After taking notes of the IP address, you have to load an internet browser.
Any HTML5-compliant web browser on Windows, Mac, or Linux PC can be used if you want to access the plugin-free web GUI of your wireless IP cameras. Apart from this, you need to make sure that your web browser is flaunting the latest software version and that it is not filled with cache and cookies.
Pair the Camera with WiFi
After logging in to the camera by accessing its IP address, you have to pair it with the WiFi router. Now, you have to move to the Settings tab and choose the submenu labeled WiFi. The aforesaid submenu can be located under the Network Settings. For your information, the camera’s WiFi setting is on DHCP by default. It simply means that the camera will automatically get an IP from the router.
To finalize the connection, you have to select the 2.4GHz network of the router from the SSID list. After that, the only thing you have to do is input the WiFi password of the chosen network. This password is the same as that you use to join your laptop, mobile phone, computer, etc. to the WiFi network of the router. You can also set up a static IP for the camera.
Verdict
After you’re done connecting your wireless IP cameras to the router’s network, you can add it to a recorder or a mobile app or a PC software whatever your cameras support. Before you take the final step of mounting it a desired location, check the WiFi signals strength in that particular area. If the WiFi strength is good, go ahead and mount your IP camera. Now, you can keep an eye on the security of your house from anywhere.

