
Netfun WiFi extender helps in providing you access to the steady speed of the internet even in those areas of your home where you have hardly seen the WiFi before. When you are done with NetfunWiFi extender setup, all the dead zones in your home will turn into fun zones.
Now, you are thinking about how to set up Netfun WiFi range extender, isn’t? Think no more because this blog post will be of great help to you. Here, we have penned down two easy methods following which setting up the WiFi extender will be a walk in the par for you. Let’s get down to reading!
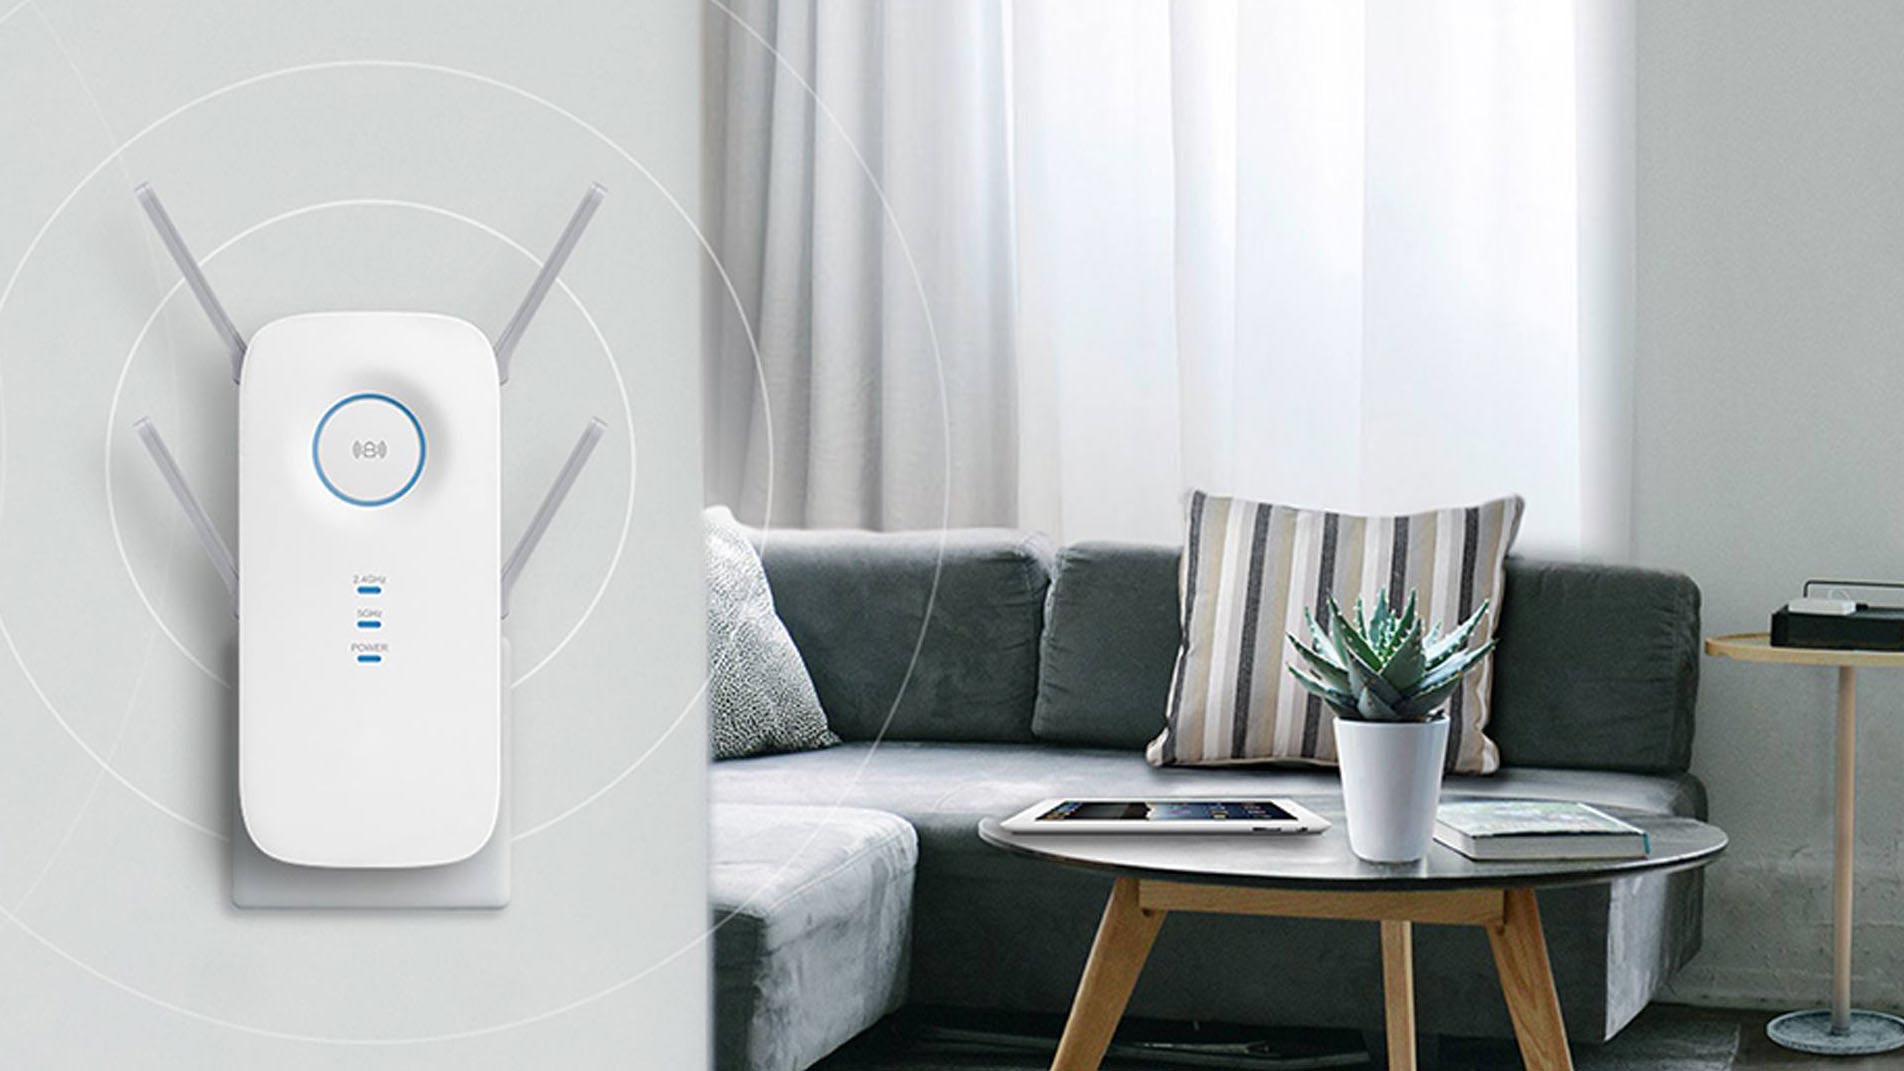
Netfun WiFi Extender Setup | Manual Method
Here are the instructions to set up the WiFi range extender using the manual method:
Step 1: First of all, you have to unbox the extender and then plug it in to a working power socket. While setting up your WiFi range extender, make sure that a non-interrupted electricity is being supplied to your device and that too from a damage-free power socket.
Step 2: Wait for the extender’s power LED to become lit.
Step 3: Now, make a wired connection between your WiFi extender and router using an Ethernet cable. Prior to proceeding further, let us tell you that a finger-tight cable connection between the devices is more than important. Apart from this, the cable you have handy must not have cuts on it. If it has, replace it with a new one instead of using the damaged one.
Step 4: Open a web browser of your choice and enter the extender’s default IP, 192.168.10.1 IP in the URL bar field. Kindly update your web browser and avoid entering the extender’s IP in the search bar.
Step 5: Press the Enter key to access the Netfun extender login page.
Step 6: Choose your preferred language and provide the default login password into the required field and click on the Login button.
Step 7: Now, the “Operation mode” window displays. Click on Repeater Mode and thereafter, follow a couple of Netfun WiFi extender setup on-screen instructions.
After configuring the WiFi range extender using the manual method, unplug it and place it in an area in your home where you need to access the WiFi the most. Let’s now discuss the second method to set up the Netfun wireless range extender.
Netfun WiFi Extender Setup | WPS Method
This is one of the easiest methods to set up your WiFi range extender. For instructions, scroll down a little:
Step 1: Plug in your WiFi extender to a working wall socket that is near to your existing router.
Step 2: Once you are done with plugging in your device, press the WPS button on your main router and wait for a few seconds.
Step 3: Now, press the WPS button on your WiFi extender as well.
Step 4: A few moments later, the WiFi LED on your range extender will start blinking.
Step 5: Soon, the SSID of your extender will be visible on your smart devices. Using the existing WiFi password, access the WiFi network name (SSID) of your Netfun device and start using the uninterrupted internet speed from anywhere in your home.
The Last Words
Netfun WiFi range extender is the outstanding device to opt today! It helps in replicating the existing router’s WiFi signals, providing you a continuous internet range to access on your devices. But, to make the most out of your internet connection and speed, you have to set it up either using the manual method or via WPS method.
Both the methods provided here are simple and easy-to-execute! Hopefully, the instructions we have listed above will help you do Netfun WiFiextender setup in a hassle-free way.