
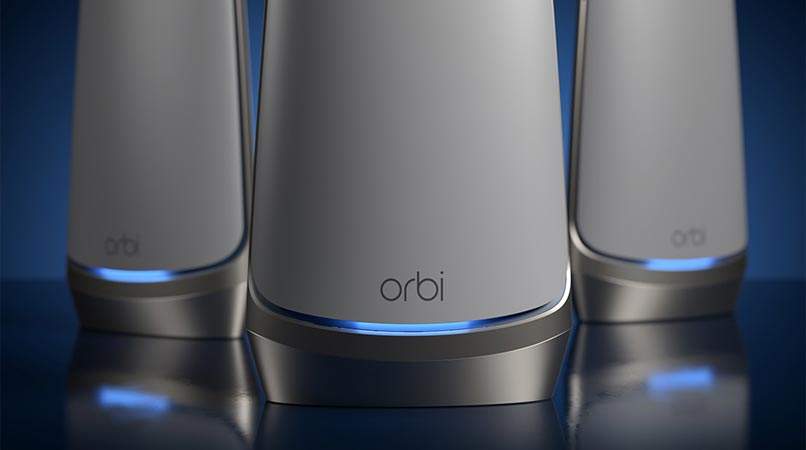
Even though Netgear’s mesh WiFi router technology is one of the few that can enable multi-gigabit internet connectivity, its minimum price tag of $1,500 makes it unaffordable for most households. Fortunately, a more reasonably priced alternative is now available. You may get a standalone router if you don’t require significant coverage, or you can get an Orbi 860 series mesh router, which offers the same 10Gbps Ethernet as the Orbi 860 line but with tri-band WiFi 6 instead of quad-band WiFi 6E.
If you’re acquainted with the Orbi 850, you’ll recognize the general layout, but the new antenna system boasts increased range and practical throughput. Increased performance at the network’s periphery is possible. Even though the router and its satellites each have four Ethernet ports, the maximum throughput of the wired connections between them is only 1Gbps. Netgear says its full-mesh system can cover up to 8,000 square feet.
You’ll have to get this system set up before you can use it to its full potential. If you want to know how to set up an Orbi 860, read on.
How to Set Up Orbi 860 Manually?
- Connect your Orbi 860 to the wireless router via an Ethernet cable. However, wireless connections are also an option if you don’t have access to an Ethernet cable.
- Done? Great! Now you can switch on your Orbi 860 by plugging its power cord into a working wall socket. Maintain constant power to your Orbi during setup.
- After you have established a stable connection between your Orbi and your modem or access point, you will need a computer to complete the device setup.
- Open a browser, then go to the address bar and enter “orbi login.”
Note: You may visit the Orbi 860’s default web address with any modern web browser, but for best results, clear your browser’s cache and cookies and update it to the most current version of its software. You may prevent any hiccups during the installation of your Orbi 860 if you follow these steps. - When you hit the Enter key, your computer will prompt you to log in.
- Click OK after you’ve logged in using the default username and password.
- 860 Orbi users experiencing problems logging in through the default website can instead try logging in via the default IP address.
- Once you’ve logged into your Orbi 860, you’ll be able to access the web interface for managing your WiFi router.
- Follow the Next Step.
- Moving on, choose a WiFi network to connect to. Do the same, then.
- To proceed, input the password for the WiFi network into the appropriate field.
- Select ‘Next’ after you’ve finished naming your network and connected device.
- Before clicking Apply, review the changes you’ve made to ensure they are correct.
- All your hard work saving changes need is a reboot of your Orbi 860. You may need to wait a while for this to happen.
- As soon as you are sure the Orbi has finished rebooting, check the LED status.
- The Orbi 860 has been set up manually. If you run into any issues when installing Orbi, you may reach out to our team of experts at any moment.
You may also finish the 860 setup process by pressing the WPS button.
How to Set Up Orbi 860 via WPS Method?
Also, Orbi supports WPS for connecting to the Access Point. Learn the ropes by following the instructions below:
- Ensure that your Orbi is receiving enough electricity by plugging it into an outlet.
- Make that the WPS button is on both the modem and the Access Point.
- Please be aware that if your modem does not allow WPS, you will not be able to use that method to set up your Orbi 860.
- Go ahead and hit the “Sync” button on your wireless network.
- You’ll be able to access the Orbi WiFi network from your device in a short time.
- If you’ve tried the preceding two methods of Orbi configuration without success, there’s still another option. You read it correctly; yes.
- The Orbi app may be used to configure the Orbi 860. Simply get the app from the app store that supports your device’s operating system, sign in, and proceed with the on-screen instructions.
The Conclusion
Now we’ll wrap up our blog on setting up an Orbi 860. We trust that you will have a smooth experience setting up your Orbi.