
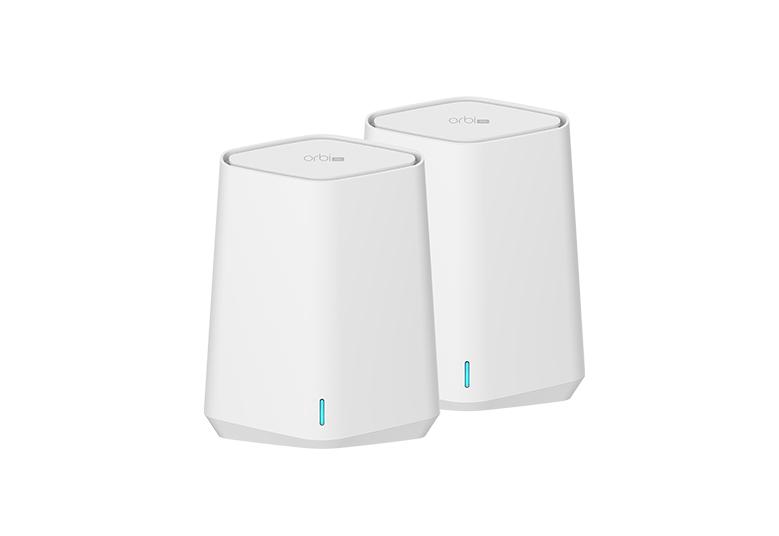
Built with the sole purpose of providing your home with next-level coverage as well as speed, Netgear Orbi Pro WiFi 6 Mini AX1800 router is the best device to consider. It comes at an affordable cost to satisfy your internet-related needs. Want to know more about this technical device? Well, in that case, refer to the next section of this blog.
Benefits: Netgear Orbi Pro WiFi 6 Mini AX1800 Router
- More Control
The biggest advantage that you will get by setting up the Netgear Orbi Pro WiFi 6 Mini AX1800 router is more control over your existing wireless network.
- Connect Multiple Devices
Another benefit that you will get from setting up this Orbi device is that you can connect multiple devices to it, approximately 40 devices. Great, isn’t it?
- Get More Speed
You will get up to 1.8Gbps speed for fast download and smooth Google meet calls. Think about it, this device is powered by WiFi 6 after all.
Now that you are aware of all the benefits that you can get after configuring Netgear Orbi Pro WiFi 6 Mini AX1800 router, it’s high time that you actually set it up. For that, read on.
Methods to Install Orbi Pro Mini AX1800 Router
- Via Manual Method
The following instructions will help you to set up the Netgear Orbi Pro WiFi 6 Mini AX1800 router using the web user interface:
- Connect the Orbi to the power socket.
Note: See to it that the Orbi Pro Mini router is properly plugged into the wall socket. Not just that, but it should also be receiving an adequate power supply.
- Hit the power button.
- Use an Ethernet cable to connect the Orbi AX1800 router to the modem.
Note: The Ethernet cable connecting your networking devices should have zero cuts on it. Apart from that, it should not be worn out.
- Thereafter, turn on the Orbi satellite, namely SXK30.
- Sync both the Orbi devices by pressing the Sync button on each one of them.
- Open an internet browser on your laptop.
Note: Regardless of the web browser that you will be using, ensure that it is not outdated. Also, it should be free of cache as well as browsing history.
- Insert orbilogin.com in the URL field.
- Press the Enter key.
Note: You can also put the default IP address to use to access the Netgear Orbi Pro WiFi 6 Mini AX1800 login page. Just cross-check it before hitting Enter.
- Soon the login page will come into view.
- Once asked to enter the login credentials, fill them up.
- Hit Log In.
- Follow the on-screen instructions.
With that, you’ll be able to achieve Netgear Orbi Pro WiFi 6 Mini AX1800 setup success.
- Using Orbi App
Another way through which performing Netgear Orbi AX1800 setup is possible is using the Orbi application. Here is how you can execute the process:
- Unlock your mobile device.
- Go to the store of your device and then look for the Orbi app.
- Once you find it, download it by tapping the Download button.
- Let the installation process come to an end.
Note: Avoid playing games online on your mobile device while the Orbi app is about to get installed. Otherwise, disruption of the process might happen.
- Thereafter, you will be asked to create an account.
- After creating one, log in to your Netgear Orbi Pro WiFi 6 Mini AX1800 router.
- You can do so using your default admin login credentials.
Note: Not sure about the admin login details? Refer to the ones given in the user manual. Apart from the password and username, you will find every detail regarding your Netgear Orbi Pro WiFi 6 Mini AX1800 router in the manual.
- A window will appear with some prompts.
- Follow them in order to put an end to the Orbi setup process.
It is recommended that you follow the instructions given on the main dashboard in the same order as they are given. It will keep Orbi-related issues at bay.
To Conclude
Setting up a Netgear Orbi Pro WiFi 6 Mini AX1800 router in your home is the perfect way to gain access to a super-fast internet connection on all your devices. Hopefully, you will be able to execute the process after going through this post.