
If your router doesn’t have a WPS button or you prefer a more manual method of configuration, you can use the 192.168.188.1 IP address to set up the extender. This method requires you to access the extender’s web interface through a browser and configure the settings manually.
1. Power On the WiFi Extender
Start by plugging the Opticover WiFi Extender into a power source. Wait for the LED lights to stabilize, indicating that the device is ready for setup.
2. Connect to the Extender’s Network
On your computer or mobile device, go to your Wi-Fi settings and look for a network named something like Opticover_EXT. Connect to this network.
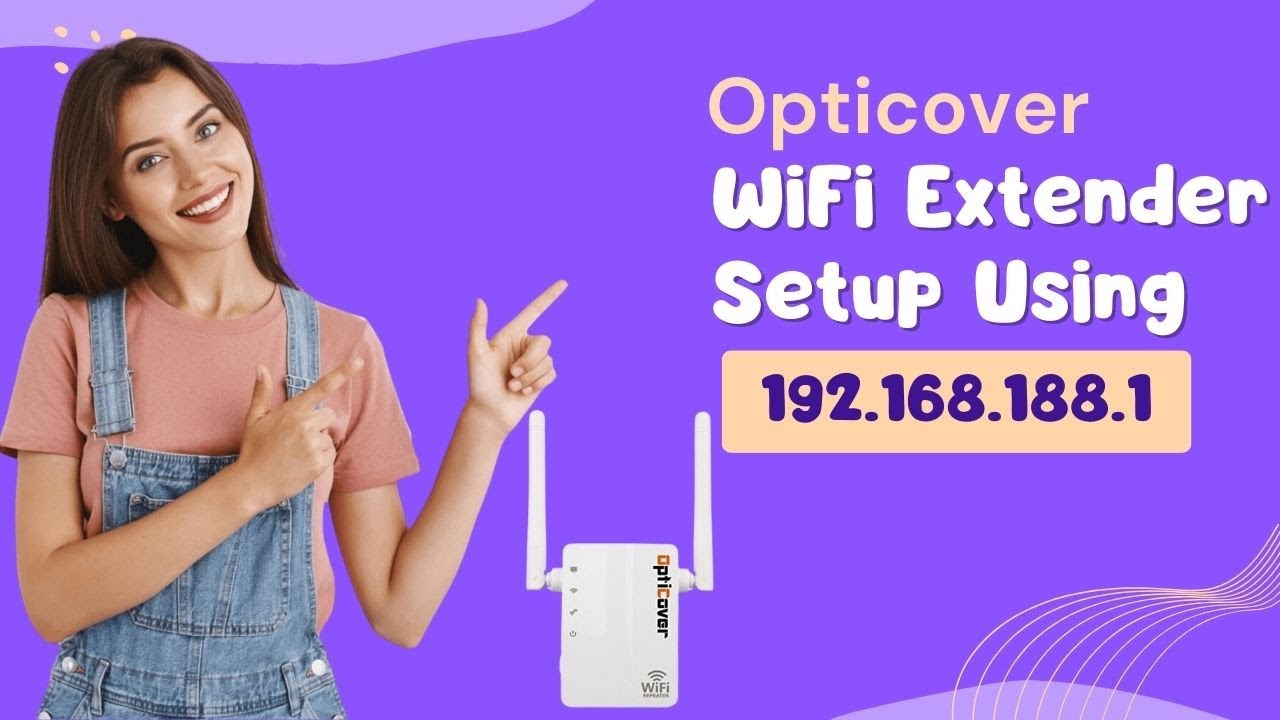
3. Open Your Web Browser
Once connected to the extender’s network, open any web browser (e.g., Chrome, Firefox, Safari). In the address bar, type 192.168.188.1 and press Enter. This will take you to the Opticover WiFi Extender’s login page.
4. Log In to the Web Interface
On the login page, you’ll be prompted to enter a username and password. The default credentials are usually:
- Username: admin
- Password: admin
If this doesn’t work, check the user manual for the default login details. After entering the credentials, click Login to access the web interface.
5. Configure the WiFi Extender
Once logged in, you’ll be taken to the main dashboard of the Opticover WiFi Extender. From here, follow these steps:
- Click on Wi-Fi Setup or Wireless Settings.
- The extender will scan for available Wi-Fi networks.
- Select your home Wi-Fi network from the list.
- Enter your Wi-Fi password in the appropriate field.
- Click Apply to save the settings.
6. Reposition the Extender
After completing the setup process, you can now move the Opticover WiFi Extender to a more suitable location. It’s ideal to place it halfway between your router and the area where you need better Wi-Fi coverage.
7. Check Your Connection
After moving the device, ensure it is receiving a strong signal from the router by checking the LED indicators on the extender. Test the connection in various parts of your home or office to ensure optimal performance.
Troubleshooting Common Setup Issues
Even though the setup process is fairly straightforward, you may encounter some common issues along the way. Below are solutions to the most frequent problems:
1. Cannot Access 192.168.188.1
If you are unable to access the web interface via 192.168.188.1, try the following:
- Ensure your device is connected to the Opticover_EXT network.
- Clear your browser’s cache or try using a different browser.
- If the issue persists, reset the extender by pressing the Reset button for 10 seconds and try the setup again.
2. Weak Signal After Setup
If you notice that the Wi-Fi signal is still weak after setting up the extender, consider repositioning it closer to your router. Ensure that there are no physical obstructions like thick walls or large appliances that could interfere with the signal.
3. Extender Not Connecting to Router
If the extender fails to connect to your router, double-check that you are entering the correct Wi-Fi password during the setup process. Additionally, ensure that your router is not too far away for the extender to pick up its signal.
Conclusion
Setting up the Opticover WiFi Extender can significantly improve your home or office’s Wi-Fi coverage, eliminating dead zones and boosting signal strength in previously weak areas. Whether you choose the quick and easy WPS button method or prefer the more detailed setup via 192.168.188.1, this guide covers everything you need to know to get your extender up and running efficiently.